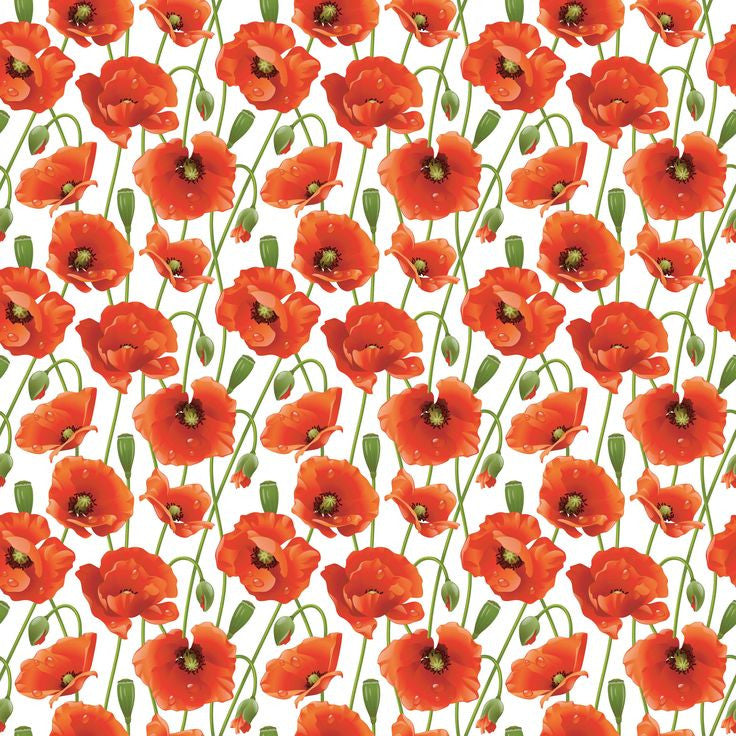
Using Poppy Scrapbook Paper
Posted by Olivia Sum on
Scrapbook paper can be used for a wide variety of purposes. It jazzes up dressers, journals, cabinets and even paint cans. You can create a range of pretty objects by simply adding a little poppy scrapbook paper to it. You can use it to create cards and signs, as well as special frames or covers.
Handmade Scrapbook Cards

You can use scrapbook paper to make creative handmade cards. You can use leftover pieces of poppy scrapbook paper, if you’re smart enough to save the scraps. You can use all of your scrapbooking skills to create balance, color and focus on your card! Use the same supplies too, from trimmer to scissors and embellishments to decorate the card. Start with a 5” by 6.5” blank white card, mini glue dots and a fine point black pet.
Apply glue over the front of the card, especially the corners and edges, before placing down a sheet of poppy scrapbook paper, pattern facing out. Trim the edges to ensure the whole card is covered. You can add decorations using strips of colorful paper and arrange them however you like. Take the tag from a paper book and glue it to the card at an angle. Personalize the tag with a cute little message.
Move on to the interior of the card. Use a ¾” wide strip of paper that matches the front of the card and glue it to the inside back of it. Outline the strip with the black pen. Cut out a small tag from another piece of paper and glue it onto the back. Personalize it with the pen, and sign it! You can create more elaborate cards with some practice.
Handmade Scrapbook Gift Box

Making gift boxes at home from leftover scrapbook paper is cheap, quick and personal. All you need to get started is two pieces of thick poppy scrapbook paper, and a few basic scrapbooking supplies. The right kind of paper is thick and sturdy but colorful. Of course, you can always glue two pieces together for more stability and thickness. Make sure that each piece is a 12” by 12” square, trimming if you need to.
Take a pen and draw a big ‘x’ from one corner to the other on the white side before turning the paper to a diamond. One by one, fold the sides from the corner’s tip to meet into the center. Unfold the top and bottom, and fold the left and right corners in on themselves. You’ll have a long, thin rectangle with two pointed ends. Completely unfold it and lay it flat.
Fold the bottom corner into the center, and cut a slit into the fold on each side to the corner. Leave the center piece folded toward the center. Rotate your paper and do the same for the corner opposite. You’ll now have four flaps on each side. Take the center piece and fold it down over itself.
Do the same for the other side. Now take the sides with the flaps and fold them in on all sides. Glue the little flaps on the side down to form the base of the box. You’ll have two pointed pieces pointing at the center of the base. Grab the two flaps and cover them with the edges of the surrounding pieces. Do this for each remaining side until your box is compete.
The bottom of the box is simple to make. You’ll need to measure the sheet to 12” by 12”, trimming excess paper. Cut 1/8” from the bottom and the side to ensure everything fits snug. Trim away the remaining paper. Follow the above steps to form the bottom of the box. Then simply use scrapbooking materials to decorate and personalize the gift box.
Refurbished Frames

Perhaps one of the cheapest projects to take on, creating decorated frames is a lot of fun and takes very little effort. The end result are new, adorable frames for your photos to go in. All you need is a cheap, unfinished frame, adhesive, a foam brush, scissors, a razorblade, scrapbook paper and paint.
Simply hold the frame on the paper where you want to, and trace it with a pencil. Trace the interior and exterior of the frame, and then cut it out of the paper. Paint the back, sides and inside of the frame. Spray the adhesive onto the backside of your scrapbook paper, and place it gently atop the frame. Straighten the paper, and rub it down to prevent air bubbles. Trim the excess scrapbook paper from the sides.
